
Limewash has become a popular choice for walls in recent years, praised for its unique texture, eco-friendliness, and classic appeal.
This natural finish, which has been used for centuries, adds depth and character to any surface, with a soft, matte look that modern paint often lacks.
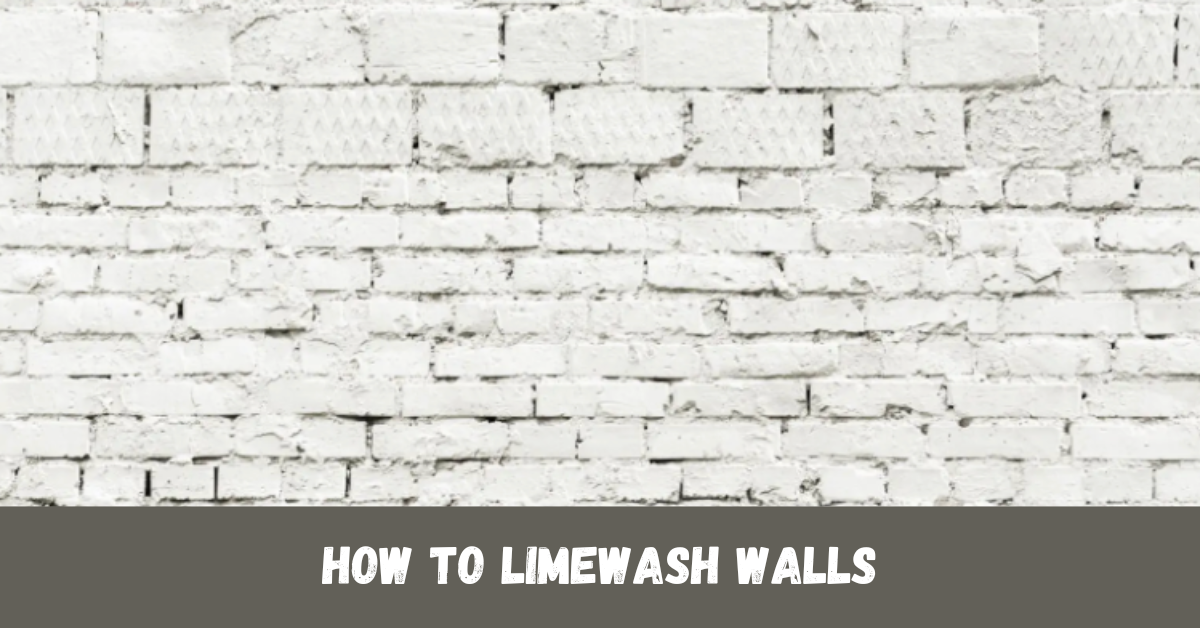
To limewash your walls, simply apply a mixture of lime and water, layering it to achieve a rich, textured effect that beautifully enhances both indoor and outdoor spaces.
Whether you’re looking to limewash interior walls or even brick surfaces, this guide will help you master the art of limewashing and create a stunning, timeless look in your home.
How To Remove Paint From Concrete Without Chemicals
How To Polish Marble Floors
What is limewash?
Limewash, made from crushed limestone and water, has been used as a wall finish for centuries, especially in Mediterranean and European architecture.
Unlike conventional paints, limewash doesn’t sit on the surface; it penetrates and binds to it, creating a unique, aged effect that evolves.
Furthermore, limewash is breathable, naturally mold-resistant, and has a beautiful chalky finish that can vary in color depth and texture depending on the application technique.
How to Insulate a Cold Wall from Inside
Why Choose Limewash for Your Walls?
It is a common question that usually people ask or it might come to your mind if you are planning to limewash your walls.
So, limewash is more than just an aesthetic choice; it has several practical benefits that make it a valuable option for interior and exterior walls alike:
- Eco-Friendly: limewash is made from natural materials, is non-toxic, and doesn’t release VOCs (volatile organic compounds), making it a safer choice for indoor air quality.
- Breathable and Mold Resistant: Limewash allows walls to “breathe,” preventing moisture buildup and the growth of mold or mildew.
- Customizable Finish: Limewash has a soft, aged appearance that gets better over time, with natural variations that add depth and character.
- Durability: Limewash penetrates the surface it’s applied to, making it a long-lasting finish that requires less frequent reapplication than traditional paints.
Preparing to LimeWash Walls – Tools and Materials
Limewashing is a straightforward process, but it requires some special materials and preparation. Here’s what you’ll need:
Materials
- Limewash Paint: Available from most paint suppliers. You can also mix your own using hydrated lime powder and water.
- Primer (for interior walls): Use a mineral-based primer if applying limewash to painted or non-porous surfaces.
- Water: Used to dilute limewash paint for various effects.
- Natural Bristle Brush or Large Paint Brush: A large brush is ideal for creating a natural, streaked effect.
Tools
- Painter’s Tape: To protect trim, edges, and areas you don’t want to paint.
- Drop Cloths: limewash is runnier than standard paint, so covering floors and nearby furniture is important.
- Protective Gear: Gloves, goggles, and a mask are recommended since lime can be mildly irritating.
- Buckets and Mixing Stick: For mixing and diluting the limewash.
Step-By-Step Guide – How to Limewash Walls
So, if you have made up mind on limewashing your walls and need to know how to accomplish this task with perfection and less hesitation, this is the detailed guide you need.
Step 1: Prep the Surface
- Clean the Walls: Make sure walls are free of dust, grease, and other residues. For brick walls, scrub with a wire brush to remove any loose particles.
- Repair Imperfections: Patch any holes or cracks with filler. limewash highlights imperfections, so ensure the wall is as smooth as possible if you want an even finish.
- Apply Painter’s Tape: Tape around edges, trims, and baseboards to avoid any accidental staining.
Step 2: Choose and Prepare limewash Paint
If you’ve purchased premade limewash paint, follow the manufacturer’s instructions. If you’re mixing your own, here’s a simple recipe:
- Mix 1 part hydrated lime powder with 1 part water in a bucket, stirring until smooth and free of lumps. For a lighter wash, add more water.
- Let the mixture sit for at least 24 hours. Stir again before use.
Step 3: Prime (for Interior Walls)
For painted or non-porous surfaces like drywall, apply a mineral-based primer. limewash adheres best to porous surfaces, so this step helps it bond effectively.
Allow the primer to dry completely before starting.
Step 4: Apply the limewash
- Start with a Damp Surface: Lightly mist the wall with water to help the limewash absorb better. This step is especially important for absorbent surfaces like brick.
- Apply the First Coat: Use a large brush with natural bristles to apply the limewash. The beauty of limewash lies in its inconsistency, so aim for an uneven, streaky application for that rustic, natural look. Work in small sections, applying strokes in a crisscross or “X” pattern.
- Dilute for Desired Effect: For a softer, more transparent look, dilute the limewash further with water. Test on a small area first to find your preferred opacity.
- Allow to Dry: limewash dries to a lighter shade, so don’t worry if it looks darker when wet. Wait at least 6–8 hours before assessing whether you want a second coat.
Step 5: Apply a Second Coat (Optional)
For more coverage and depth, apply a second coat following the same technique. The second coat can add richness to the texture and increase color intensity. Allow each coat to dry completely before deciding if more is needed.
Step 6: Finish and Clean Up
After the final coat has dried, carefully remove the painter’s tape and clean up any splatters. limewash doesn’t need a topcoat, as it’s naturally breathable and will harden over time.
Tips for Interior Limewash Applications
- Color Selection: Choose earthy tones or muted colors for a natural look. Shades like soft beige, gray, and pastel tones complement the limewash’s texture well.
- Consider Accent Walls: limewash can be used to create an accent wall, adding visual interest and texture to the room without overwhelming it.
- Natural Lighting: limewash changes with natural light, appearing softer in low light and more textured in direct sunlight. Take lighting into account when choosing the room and the shade of limewash.
How to limewash Brick?
Limewashing brick surfaces can give them a softened, timeless appearance, making them a great choice for fireplaces, accent walls, or exterior brick facades.
Step-by-Step Guide for Limewashing Brick
- Clean the Brick: Thoroughly scrub the brick with a wire brush to remove dust, debris, and loose particles.
- Dampen the Brick Surface: Spray the brick with water to help the limewash adhere and spread evenly.
- Apply limewash in Thin Layers: Use a brush or sponge to apply a thin layer of limewash, following the natural lines and texture of the brick. The porous nature of brick makes it easier to achieve a soft, weathered look.
- Adjust Opacity as Needed: For a more translucent look, dilute the limewash and apply a thinner coat. To cover more of the original brick color, apply additional coats.
- Distress (Optional): If you want a distressed, aged look, wipe away parts of the limewash with a damp sponge before it fully dries.
Maintaining and Caring for limewashed Surfaces
Lime-washed walls and brick surfaces are low-maintenance, but a few care tips can keep them looking fresh:
- Avoid Harsh Cleaners: limewash is a natural, breathable material that can erode with harsh cleaning products. Use a soft cloth and mild soap for any necessary cleaning.
- Touch Up as Needed: Over time, limewash can develop more patina, which adds to its charm. However, if you notice areas that need more coverage, simply mix up a small batch and touch up as needed.
Limewash vs. Paint – Understanding the Differences
limewash differs significantly from traditional paints, and it’s important to understand these differences when deciding on a finish:
- Texture: limewash has a natural, chalky texture that paint lacks. Paint sits on the surface, while limewash penetrates it.
- Aging Process: limewash develops patina over time, creating an aged, weathered look. Paint remains consistent in appearance until it chips or peels.
- Breathability: limewash allows walls to breathe, which helps regulate moisture. Paint can trap moisture, leading to potential mold issues in damp areas.
How to Turn Off Sprinkler System
Four Benefits of Limewash for Modern Homes
- It is environmentally safe, free from VOCs, and naturally resistant to mold and mildew.
- Limewash creates an aged, rustic charm that’s hard to replicate with paint.
- Itimewash binds to surfaces and becomes more durable over time, unlike paint, which can chip or peel.
- It’s suitable for both interior and exterior walls, as well as brick, plaster, and stone.
Conclusion
Limewash walls and brick surfaces offer a natural, timeless appeal that brings character to any space. Whether you’re transforming a room’s interior or creating an elegant, aged effect on a brick wall, limewash is a versatile and sustainable choice.
Following this guide, you can achieve a beautiful, unique finish that will enhance your home’s aesthetic for years to come.